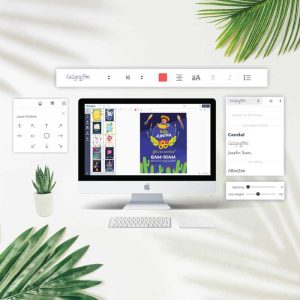
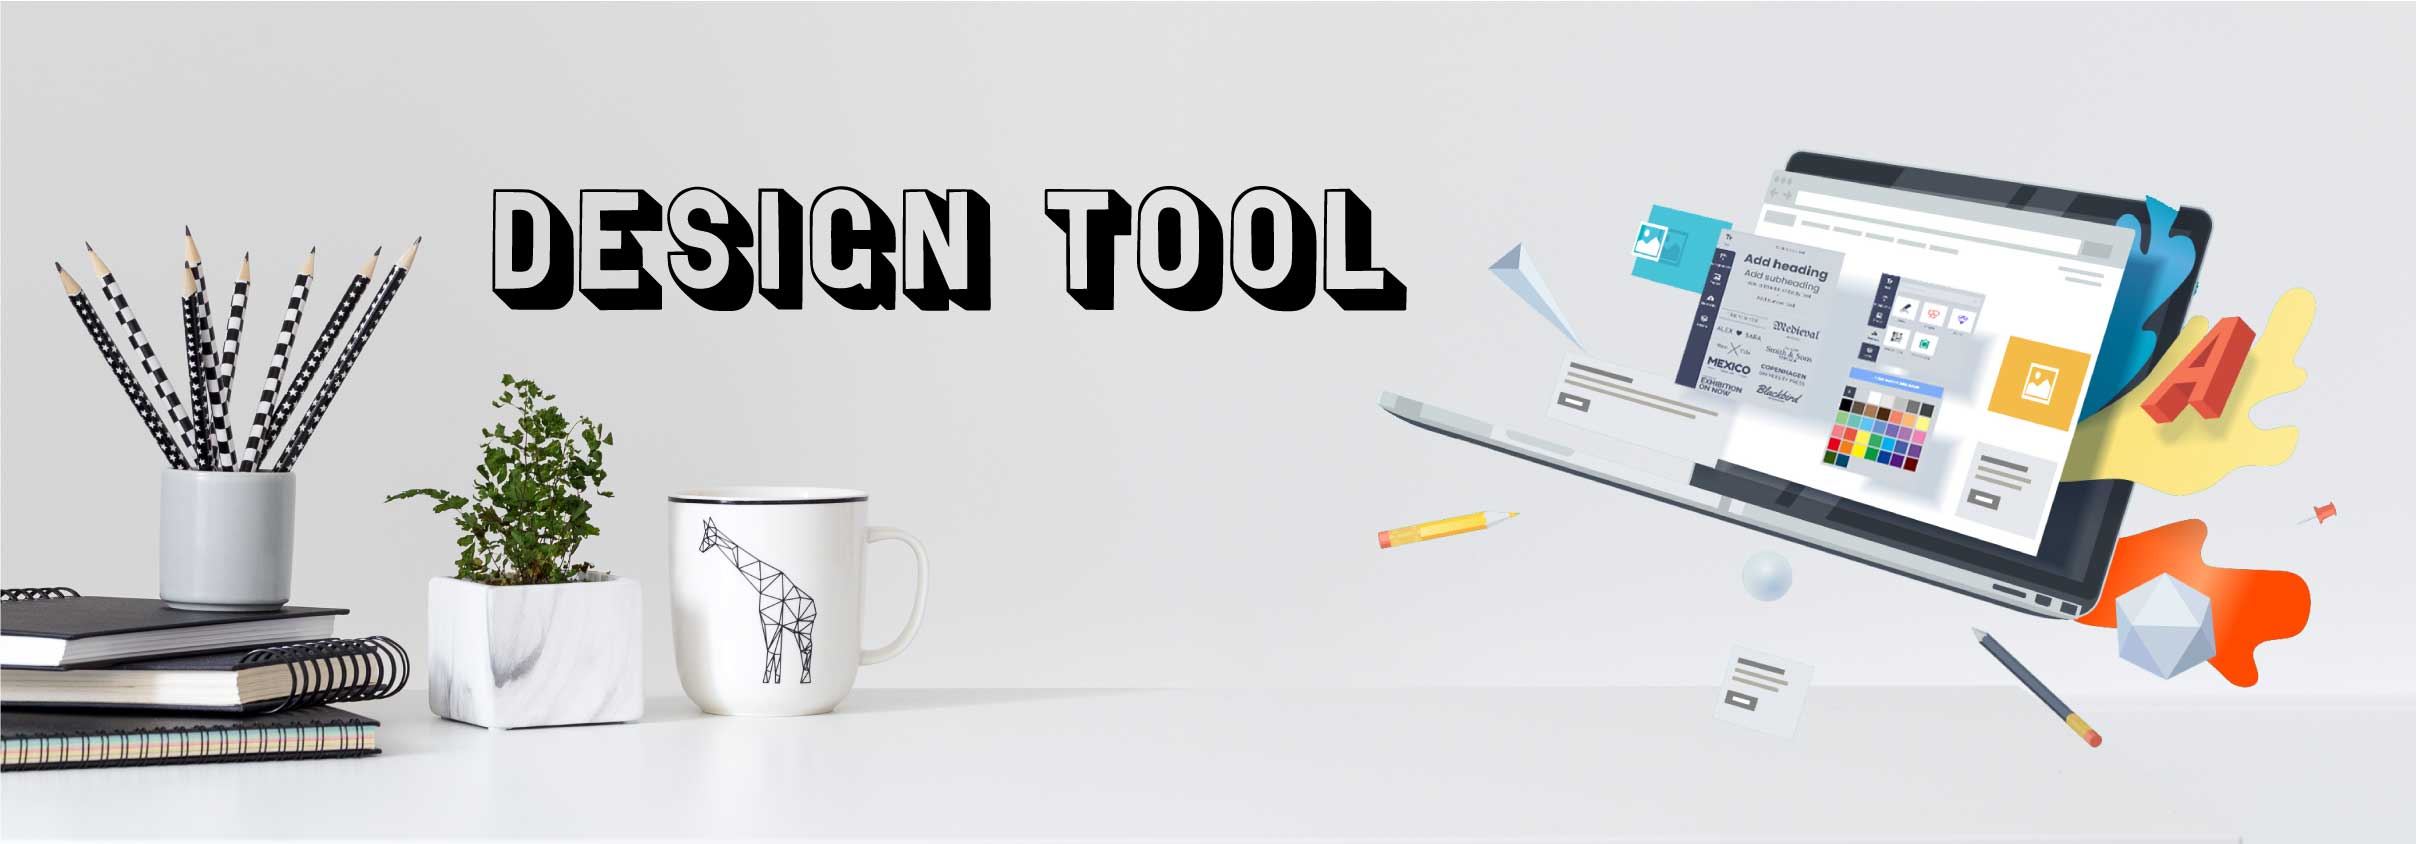
We are so excited and proud to bring you a simple way to create, by supplying you with a free online design tool!

With simple design options, you can get creative with no downloads, uploads or emails required.
Create, accept, proceed to checkout and your design goes straight into our production queue. To access the design tool, first choose which sticker, make your selections and you will find the design button at the bottom of this page.

Here are some more handy tips to help you create and get the most from your design and prints

DESIGN TOOL TIPS

Not at all, if you have a print ready design/file, you can Upload Design and bypass the design tool.

If you would like to see your design in the size selected, we recommend you upload your print ready file in Custom Design. Giving you the ability to check how your artwork looks, position your file in the size selected, check alignment, and see cut lines. Which is great when you would like to proof how your stickers will look before proceeding to checkout.

You can also order a Proof when making your selections, and our team will email a digital proof for your approval prior to production.

Have an existing file you’re ready to print select –

To check how your artwork looks select  –

Easily upload your own logo, images, icons and files to add your brand or personal touches to your designs.

TIP – If you have a coloured background, it is best to upload transparent files.

Select the Photos tab

Click on the Upload button

Click on the cloud or Drag and Drop your files

To resize or adjust an image, shape, or upload, click on the corner dot, a double headed arrow will appear, drag in or out to adjust the size up or down. The uploaded file will automatically keep its shape or proportion.

Note: If you click on the edges of the uploaded file, and adjust, this will distort the shape.

TIP – If your uploaded file has a large empty space around the image, use the crop tool. Its located in the design bar in the top left of screen. 

As you design your sticker, each item will be a Layer, for example new text, an image, additional text.

To view and adjust your layers, select the Layer tab – located on the left of your screen when using a computer or bottom when using your phone.

Here you can change the order of the layers. Making it easier to work on each layer in your design by bringing it forward (to the top) or moving it backward (to the bottom). For example backgrounds will sit last in the list of Layers.

To order your layers Hover your mouse over the left side of each layer, the Move cursor will display, then reorder  up or down.

You will also see any text added, in the layers to edit live in the design.

You can also adjust colours of shapes and text by selecting the layer, shape or text. The Design Bar will display options including colour and stroke.

Align your Text within the text box.

Select your Text or Text layer 

Align Text Centre, Left or Right. This will adjust text in the text box.

Align your Text Box to the sticker.

Select your Text layer

Locate and select Layer Position on the top right side.

Align your text box centre, top or bottom, left or right.  

Note: You can refer to the “Selecting and Adjusting Layers” tip on how to access layers.

Yes you can, in fact there is two options.

Save For Late

Click Edit then Save For Later. 

You will be prompted to log into your account or create an account.

Export and Import

Select Export to save your design on your computer. 

You can then later Import the saved design.

Note: This file format is native to our design tool and not compatible with other software.

How would you like to design your

Upload a full design

  • - Have a complete design
  • - Have your own designer

Design here online

  • - Already have your concept
  • - Customise every detail
Receive the latest news & offers

Subscribe To Our Newsletter & Offers

Keep up to date with U Sticker It, and our lastest news and deals.